1. Select the menu item > Basic settings < in the main menu under > Configuration <.

2. Select the tab > Printer <.
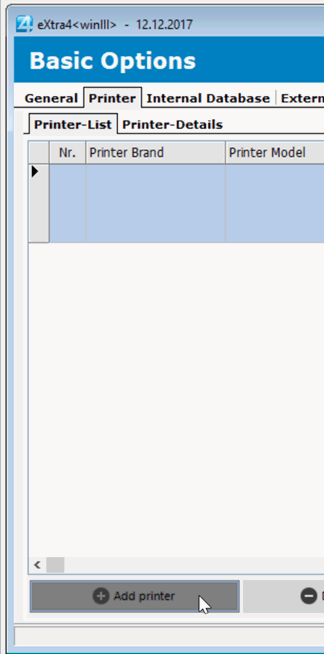
Now the list of installed printers appears, which is empty at the beginning.
By clicking on the button > Add Printer < in the window at the bottom left you get to the input mask for the printer data under the tab > Printer Details< .
3. Select Printer Brand
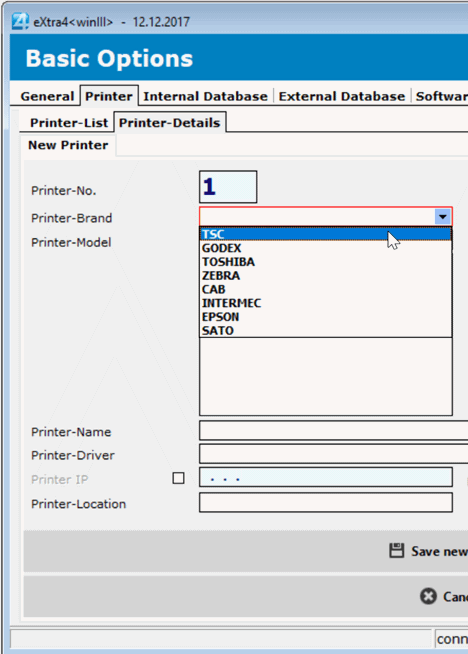
By clicking on the roll-down arrow, a list of possible printer manufacturers appears in the line > Printer mark <.
Use the cursor to select the suitable printer for your printer, for example TSC.
4. Select printer model
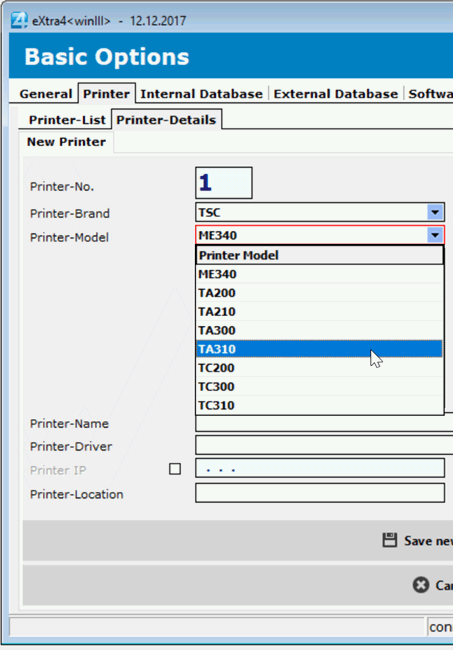
By clicking on the roll-down arrow, a list of possible printer models of the selected manufacturer appears in the line > Printer model <.
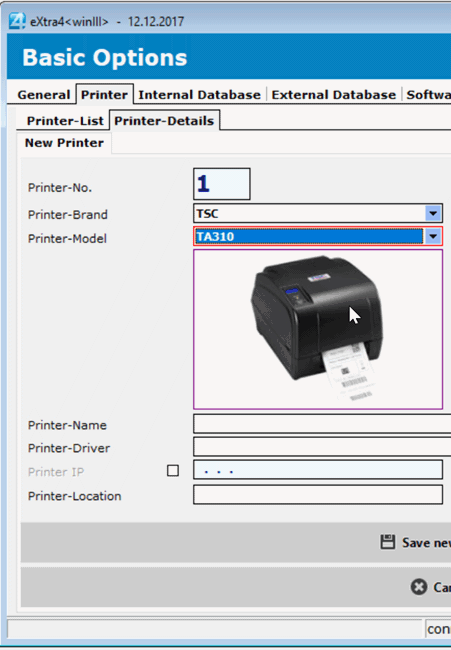
Use the cursor to select the suitable printer for your printer, here TA310 as an example.
In the window below you will see a picture of the selected model.
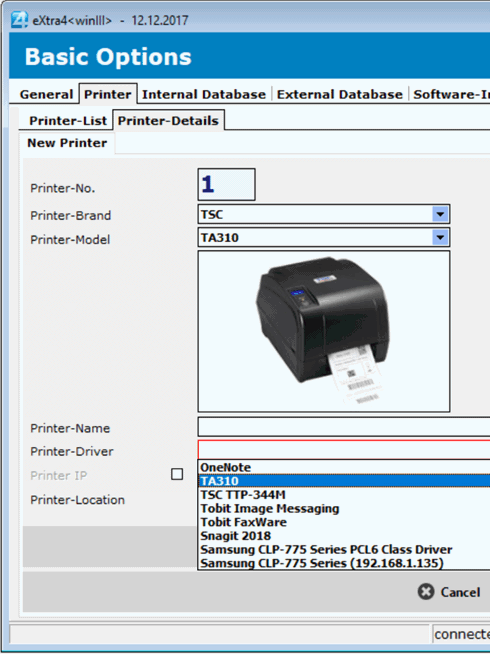
5. Select printer driver
By clicking on the roll-down arrow, a list of possible printer drivers for the selected model appears in the line > Printer driver <.
Here you should also find the printer driver that you previously downloaded under >first steps< according to the information in FAQ-online on our website www.extra4.com in the Support section for your printer.
Select this printer driver with the cursor.
 net
net
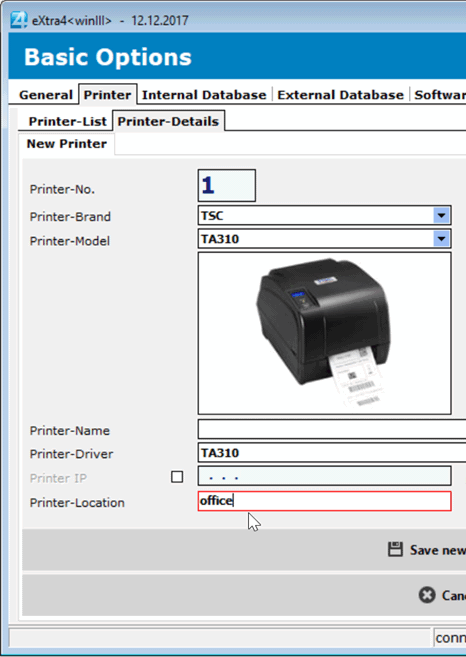
6. Determine printer location
If you have several printers in use, it is advisable to make the printers distinguishable by specifying their location.
Use the keyboard to enter the location of your printer, e.g. "Office".
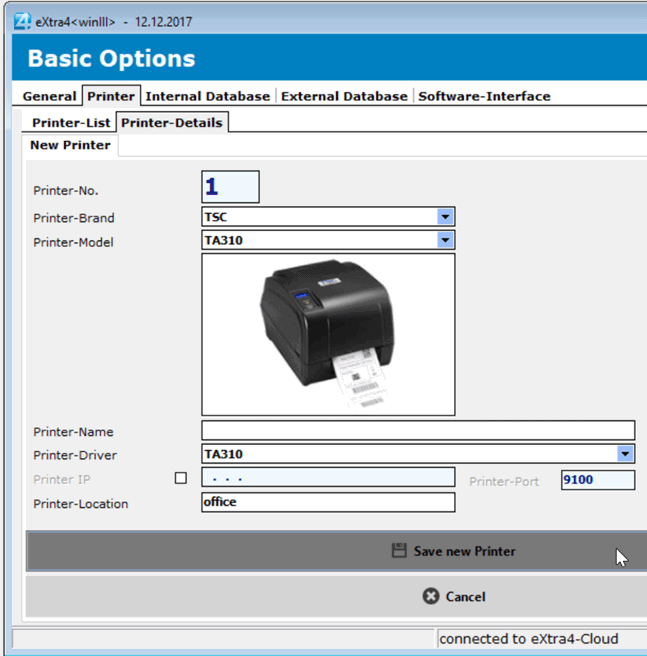
7. Save new printer
By clicking on the button > Save new printer < the printer appears in the printer lis.
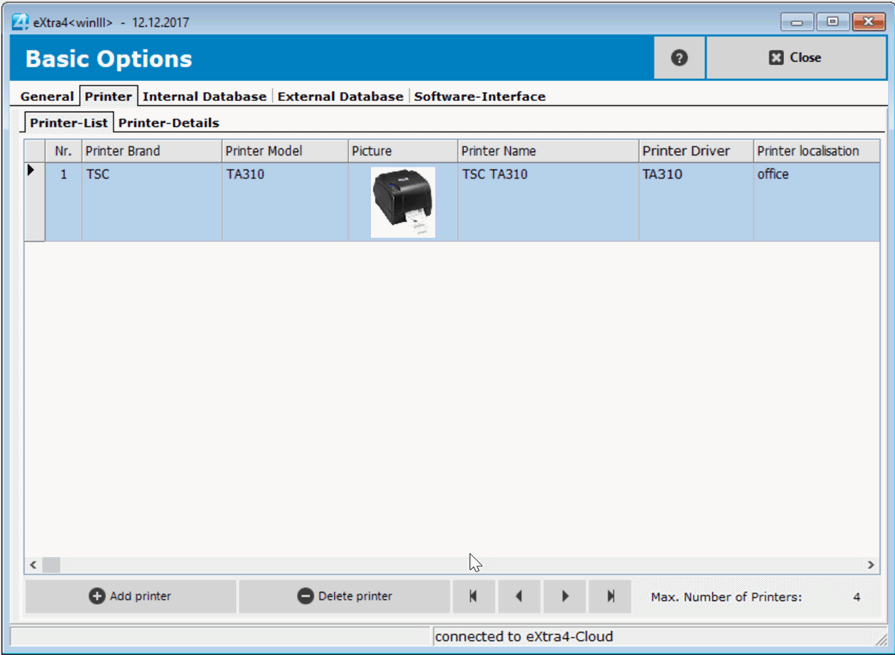
8. Complete the process
Finish adding a printer by clicking the > Close < button in the upper right corner.
9. Next step:
Select the layout that matches the printer and your label.