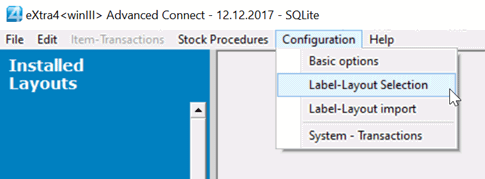
1. Select the menu item > Label Layout Download < from the main menu under > Configuration <.
The labels/layout wizard opens.
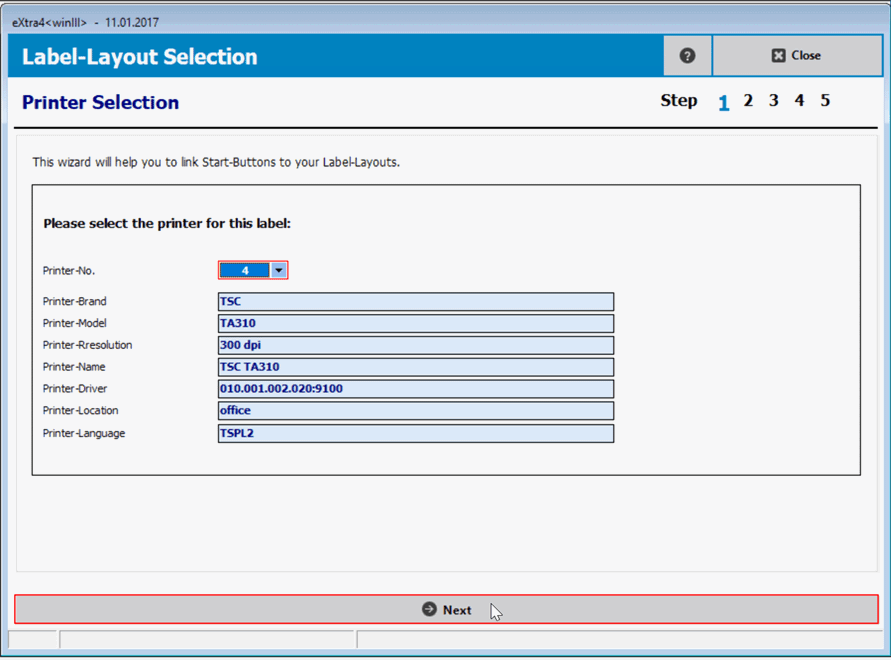
2.) Select printer
The first printer installed by you in the "Add Printer" step appears in the open labels/layout wizard.
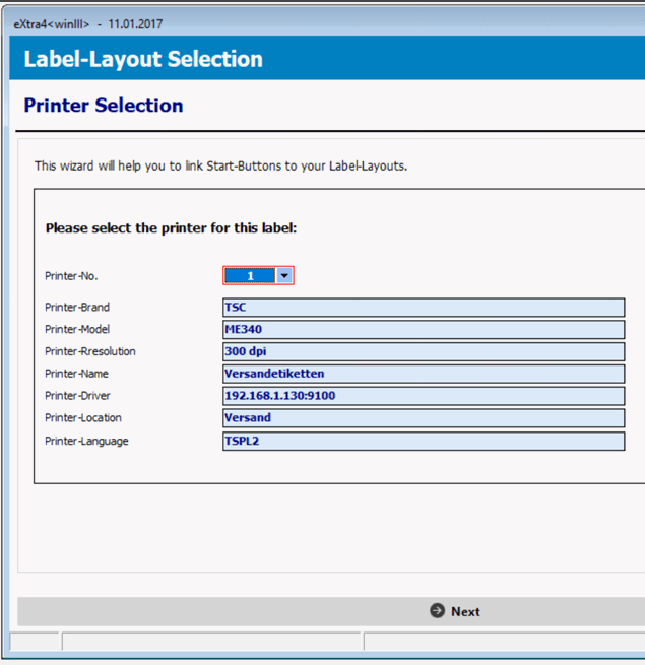
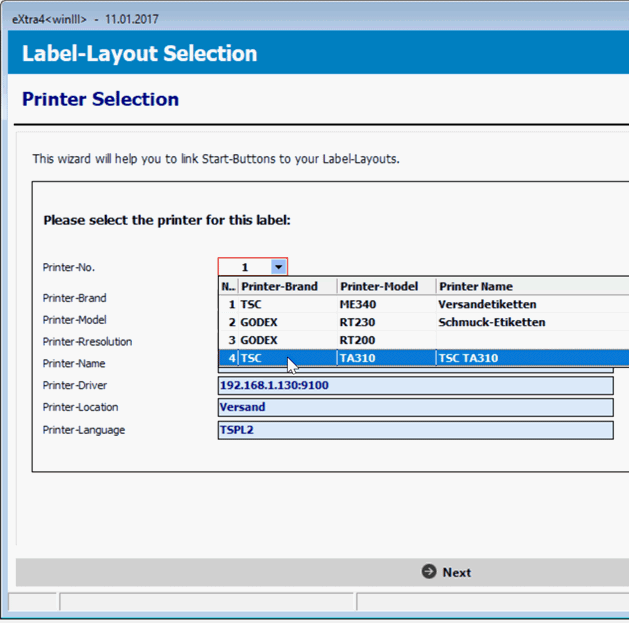
If you have installed several printers, please open the list of installed printers via the arrow next to the Printer number field.
and select the desired model from the list.
Complete step 1 in the Label/Layout Wizard by clicking the > Next < button at the bottom right. The > Label-Layout Selection < window appears.
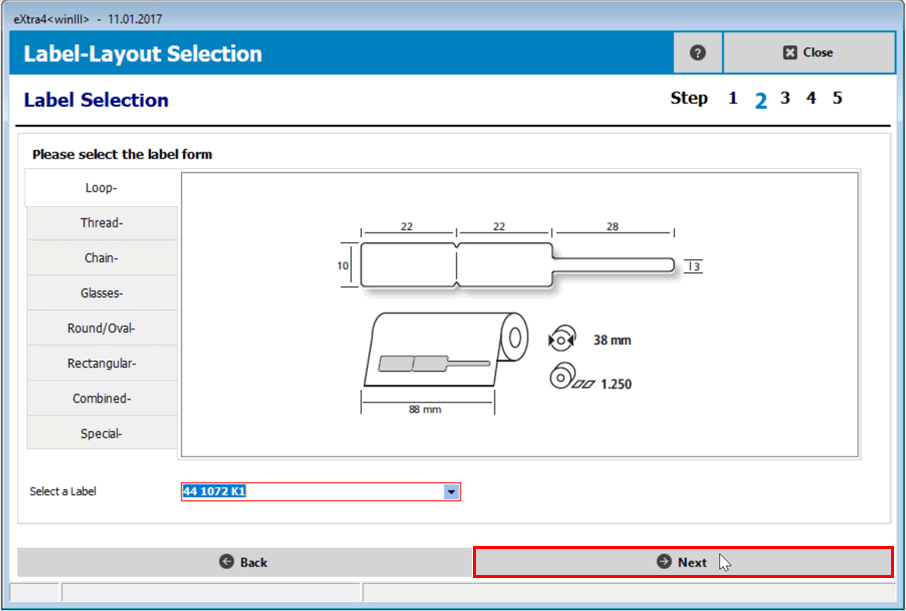
3. Label selection
In the label selection window, use the arrow next to the field > Select a label < to open the list of labels available for the printer selected in the previous step.
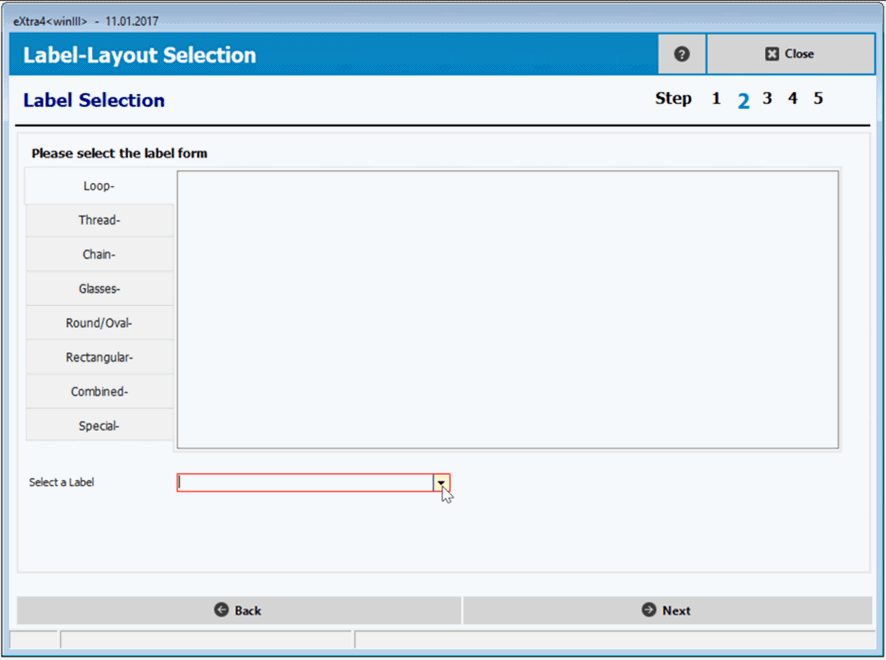
Scroll through the list by moving the cursor with the mouse button pressed down and select the desired label.
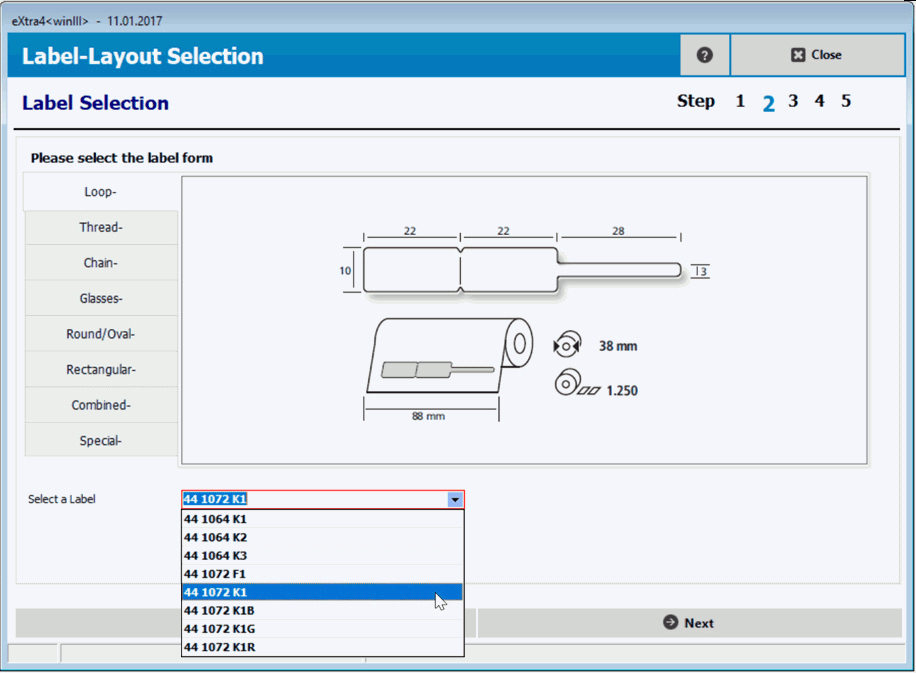
Alternatively, you can enter the reference number of the label directly into the field using the keyboard.
However, you can only enter reference numbers for labels that have already been created for the printer.
Complete step 2 in the Label/Layout Wizard by clicking on the button > Next < bottom right.
4. Layout selection
In the Layout Selection window, you can preview all the layouts installed for your selected label shape. Scroll through the list and select the desired layout with a mouse click:
Here in the example the layout T4-T3.
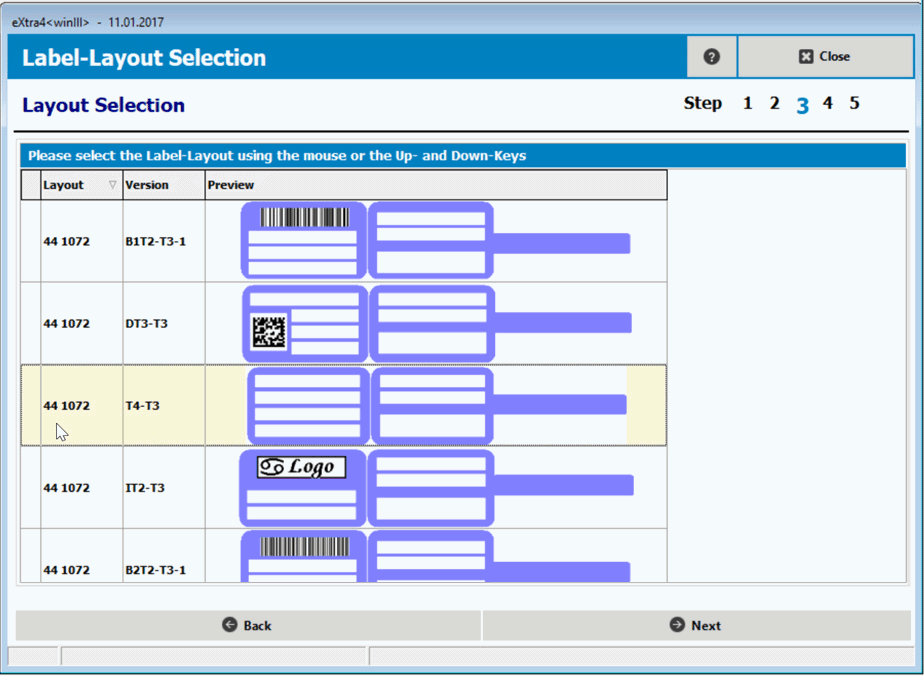
Complete step 3 in the Label/Layout Wizard by clicking the > Next < button at the bottom right.
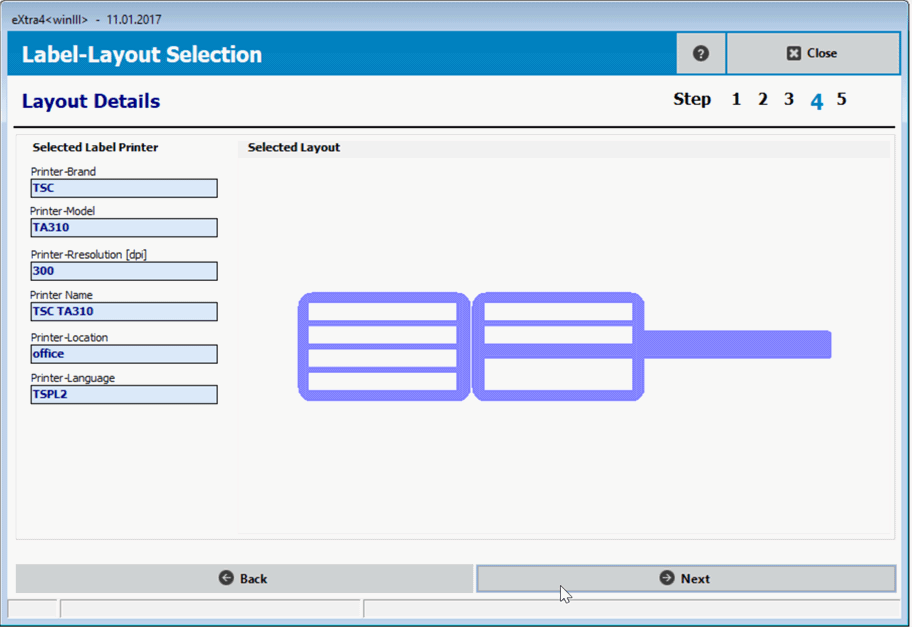
5. Confirm your selection
Step 4 > Layout Details < in the > Label-Layout Selection < shows you the details you have entered so far in the preview. You are not required to make any entries here.
Please confirm them, if correct, by clicking on the button > Next < bottom right.
For a correction you can revise your decision with the button > Back < to the left of it.
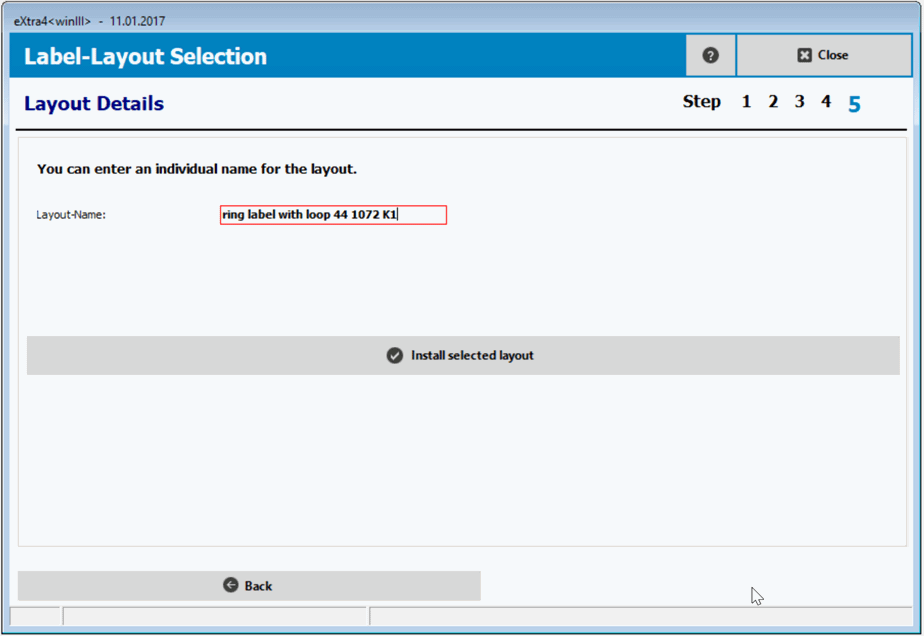
6. Individual layout name
In step 6, you can give the layout you selected an individual name by overwriting the proposed system name in the input field.
Then finish the process by clicking the > Install selected layout < button.
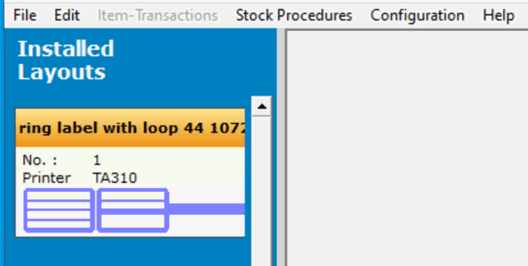
You have now completed the installation of your layout. The layout now appears in the list of installed layouts.